Watch entry 03 · tool log
Angry IP Scanner: the one you keep on a USB stick
No installer, no account, no ceremony. This entry is the cold-start loop: launch, sweep, read the table, export — the whole thing short enough to do before your coffee cools.
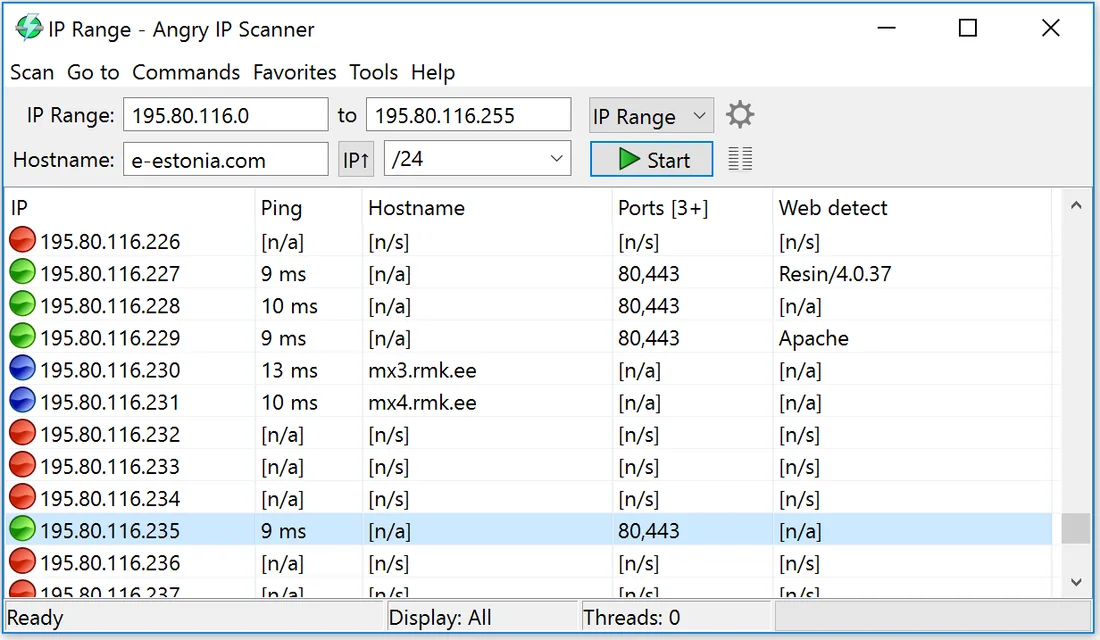
Step 1 — pick the range
Open the preferences and the program fills in your local subnet by itself. That guess is right for most home networks. If your router splits the address space, type the range by hand — the tool remembers the last one used.
Step 2 — start and wait out the countdown
The status bar counts threads as they finish. A /24 sweeps in well under a minute on anything resembling a modern machine. Rows fill in live: alive hosts first, dead addresses marked as the sweep passes them.
Step 3 — read the table like a watchman
- Answered rows with no hostname: usually printers, IoT, guest phones. The MAC vendor column identifies most of them.
- An address alive that you cannot account for at all: the reason you ran the sweep. Note it, then check the router's client list before doing anything else.
- Dead rows that used to be alive: devices asleep or retired — compare with last month's export.

Step 4 — export and file it
Scan → Export all writes CSV, TXT or XML. A dated CSV per month is the raw material for the roster. The export takes the visible table, so set your columns before saving, not after.
Fetchers worth turning on
Hostname and ports fetchers ship enabled. Add the MAC-address fetcher if it is not already active — vendor names in the table turn anonymous rows into recognisable hardware. Each enabled fetcher costs a little sweep time; on home subnets the cost is invisible.
Project home: angryip.org.